Updates

I’m not dead. And the only wicked I am is wicked-awesome.
But this is what I feel like.
Not in a terrible awful, the house-is-crushing me way, but more-like a super fantastic wonderful the house has fallen on me and is consuming all of our time- kind of way.
My kitchen has been packed up for a week, hence no recipes, lots of take out. Our apartment is in semi-boxed shambles! I can’t wait to get out of it and into the house!
Which by the way.. we close, on monday! As of 5:30pm on October 21st we will be homeowners!
We’re so very excited about this next chapter in our lives and I can’t wait to have space to decorate and room to entertain. The kitchen is bonkers compared to our old place too. Who knows what i’ll be able to whip up in there!! One can only imagine for right now, but I do have a list!

DIY: Nautical Knot Napkin Rings

I had some trim left from when I had made my nautical vase and was wondering what to do with it. With home-ownership on the horizon, I’ve been dreaming of table-scapes and thought a napkin ring would be nice!
You will need:
some rope trim, about 2 yards to make 8 rings
 (I used this cotton one found at Joanne’s Fabric)
scotch tape
glue gun
gold spray paint! (optional)
cut a length of rope-trim at 8 inches long. 
Have the scotch tape handy to wrap around the end as you cut it because it will immediately start to fray and unravel. I taped a small tip, as small as I could (seen in the background above) and trimmed the extra tape. Do this on both ends. You should get a somewhat pointed-end.
Then, tie the length in a knot, making sure it’s roughly in the center of the rope. 
Dab hot glue underneath each end of the knot while wrapping the rope around (pictured above- so it’s in the right spot when you make the ring!)

Then secure the ends together with hot glue, overlapping the pointed tape-covered tips, until you get a uniform thickness in the rope. You can also use a little scotch tape here too. I did hot glue, then wrapped with a piece of tape that I cut in half lengthwise, then secured all around with hot glue again. You can use the hot tip of the glue gun to then melt the tape and glue all together and smooth out any edges.

I then coated them with 3 coats of gold spray paint for some extra glam.
They came out kind of bronze-looking but they really look great! Overall, I’m super pleased with the finished product. 

Chocolate Eclairs

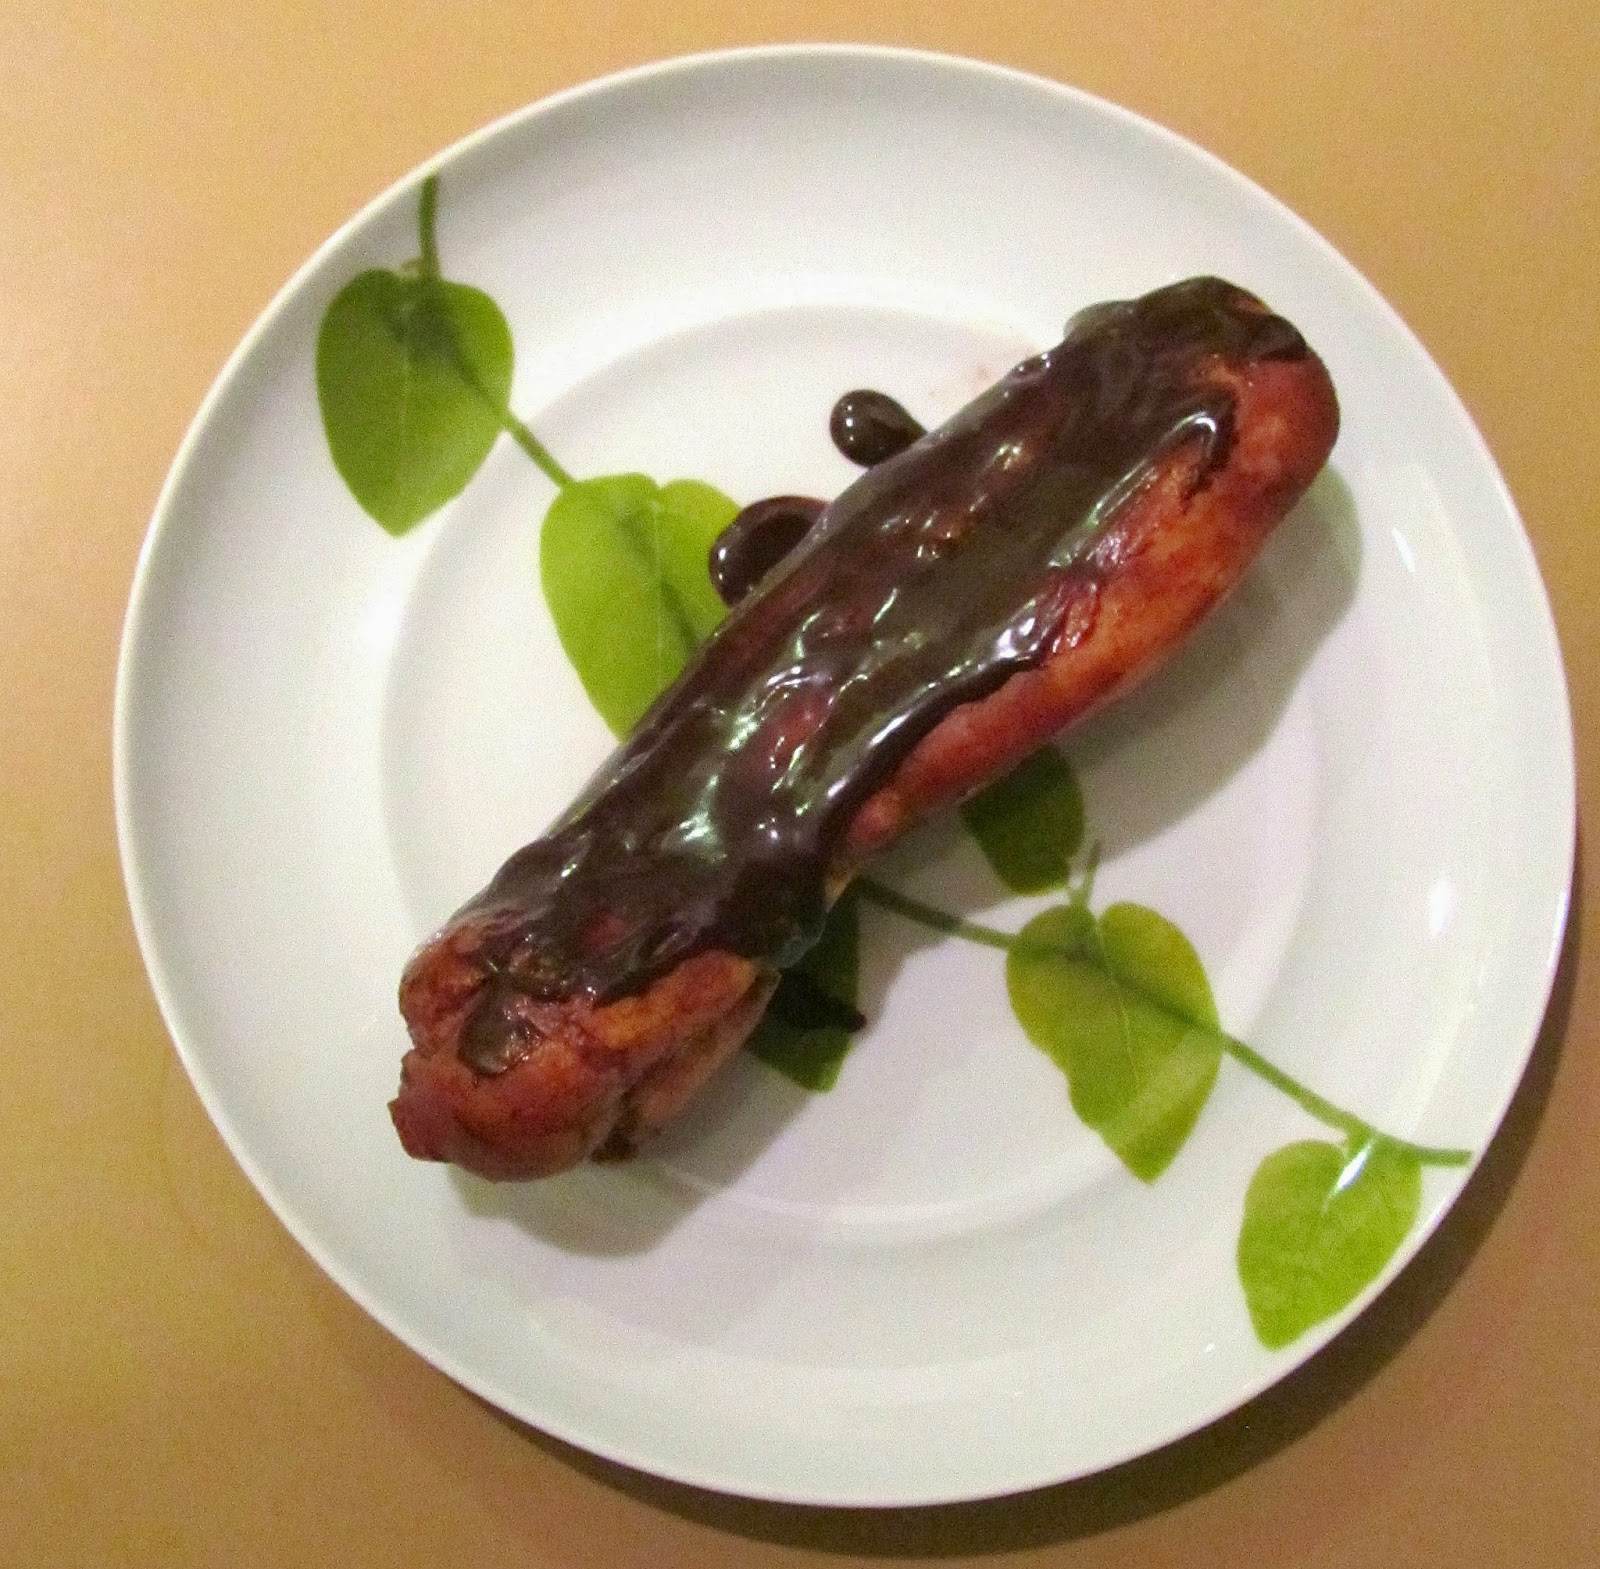
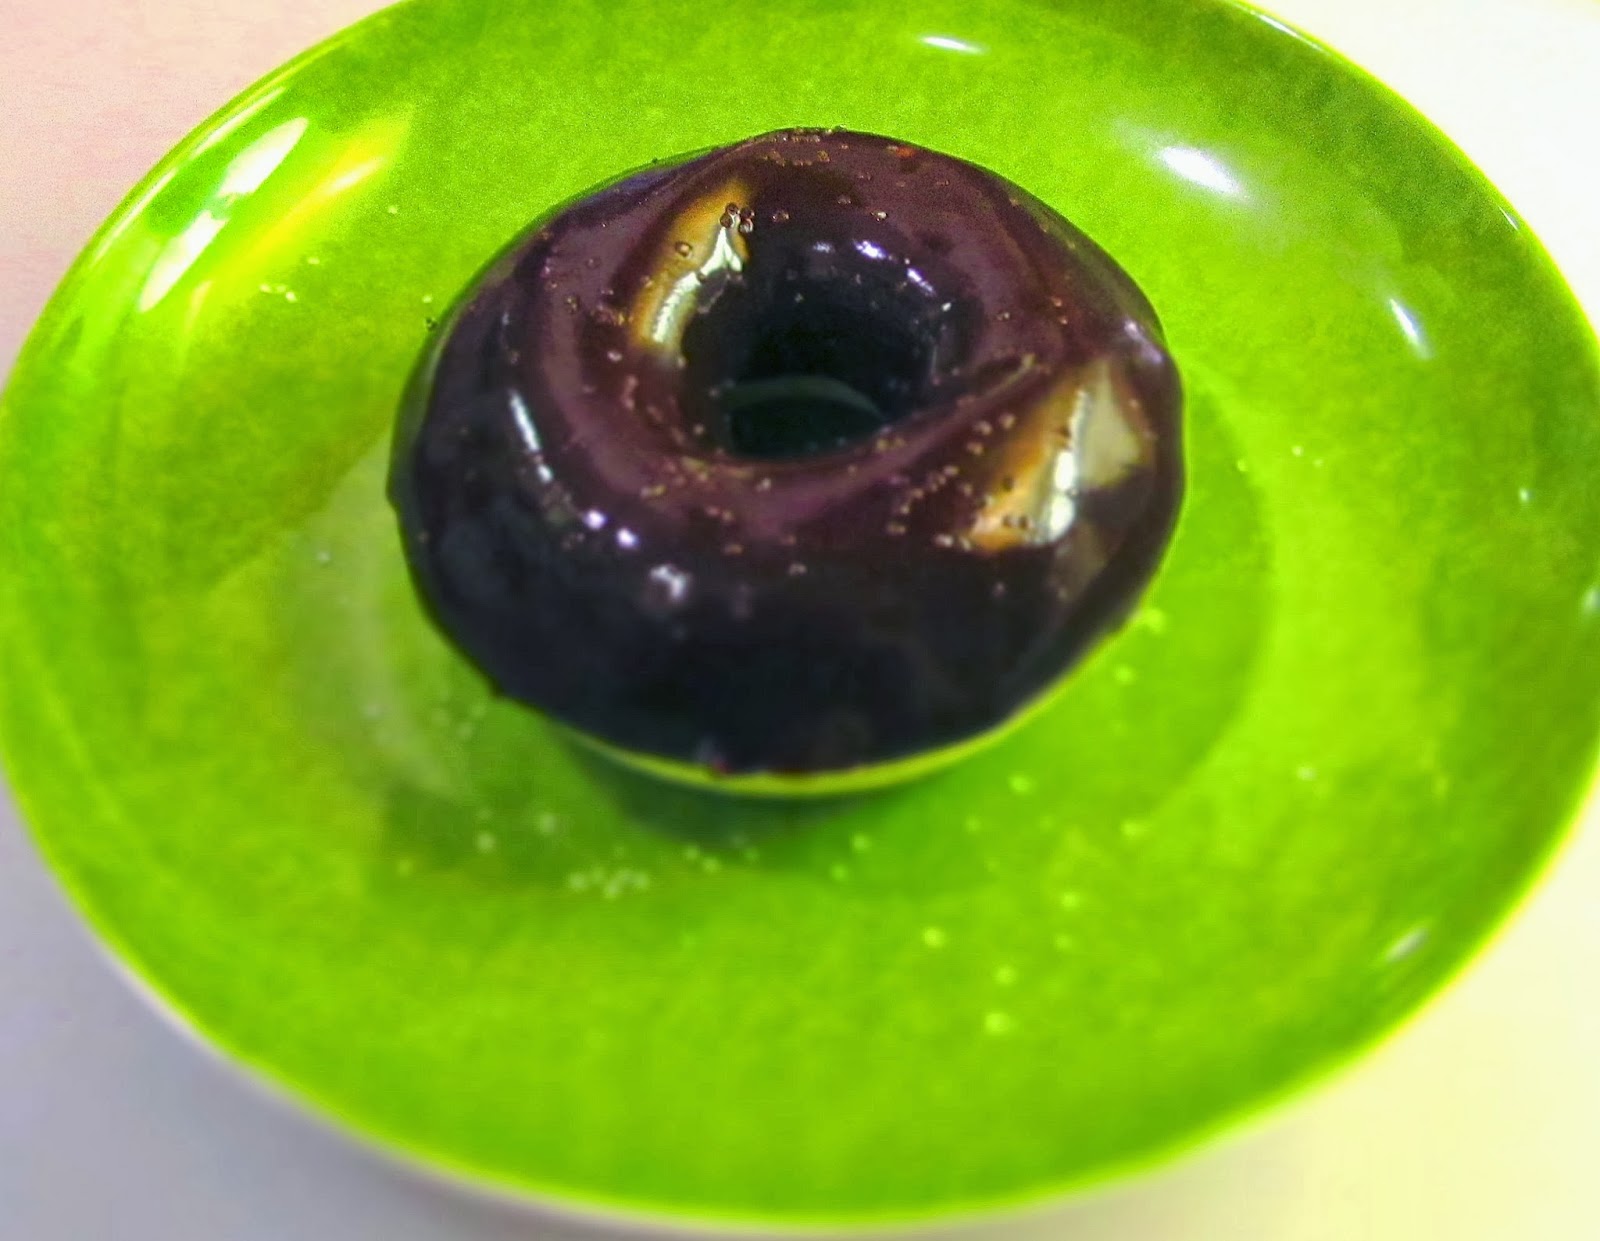
Looks pretty good, huh?!
I love love love chocolate eclairs. They’re one of my favorite desserts.
They turned out alright, but definitely presented some challenges through the process.
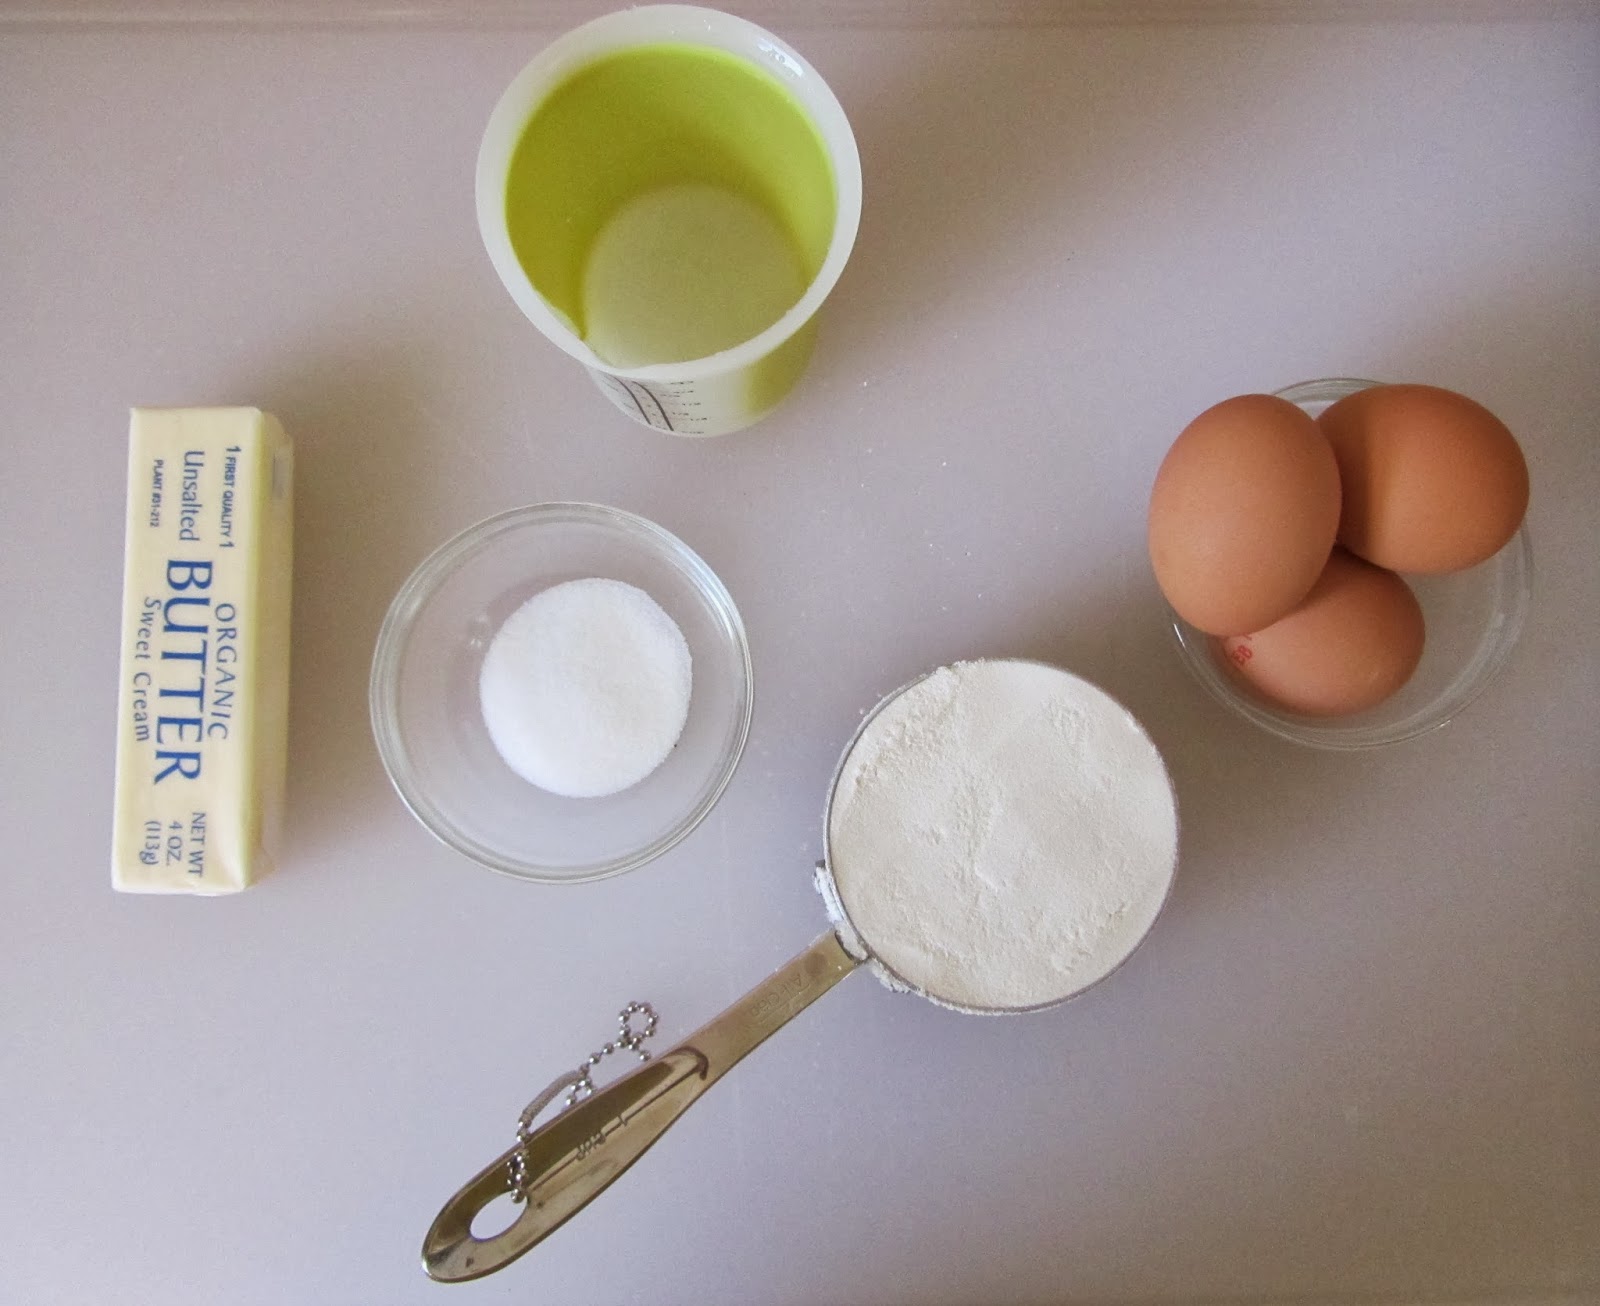
I followed this recipe. I’ve been wanting to tackle these little suckers for quite some time. Pate a choux is a fascinating dough.  It’s the above ingredients. Simple. But you basically boil the water butter sugar salt together,  then whisk the flour into it over the heat. cooking it. Yes, cooking the dough! then you mix the eggs in after. You’re left with a super sticky dough.
Somehow, through the science of baking …when cooked again in the oven, the dough puffs up into hollow forms of whatever you piped. (in this case empty tubes to hold custard!) voila!
It’s like magic.
The pastry cream was simple enough…if I had known what I was doing. [Challenge 1] the first batch, I let over-mix in the kitchen aid and was left with a strange bubbly custard when I tried to thicken it. So I trashed it and started over.  Batch 2 seemed to be going well, but while whisking it over the heat to thicken, it looked as if it was starting to curdle. At this point I began cussing while whisking my heart out and saying crazy things like, “you’re not a f*@^&#g pastry chef! why, WHY did you decide to do this?! You could’ve made ice cream with all those egg yolks! At least you know what you’re doing with that!” 
I don’t know if was an act of the big man upstairs or what, but somehow…some way… that custard instantly thickened and came together. It happened so suddenly, literally within 5 seconds. weird runny curdling thing one second- BAM- thick pastry cream laced with lovely specks of real vanilla bean the next. I am left assuming that this is just how it works… that whole science of baking thing again. 
mind.blown.
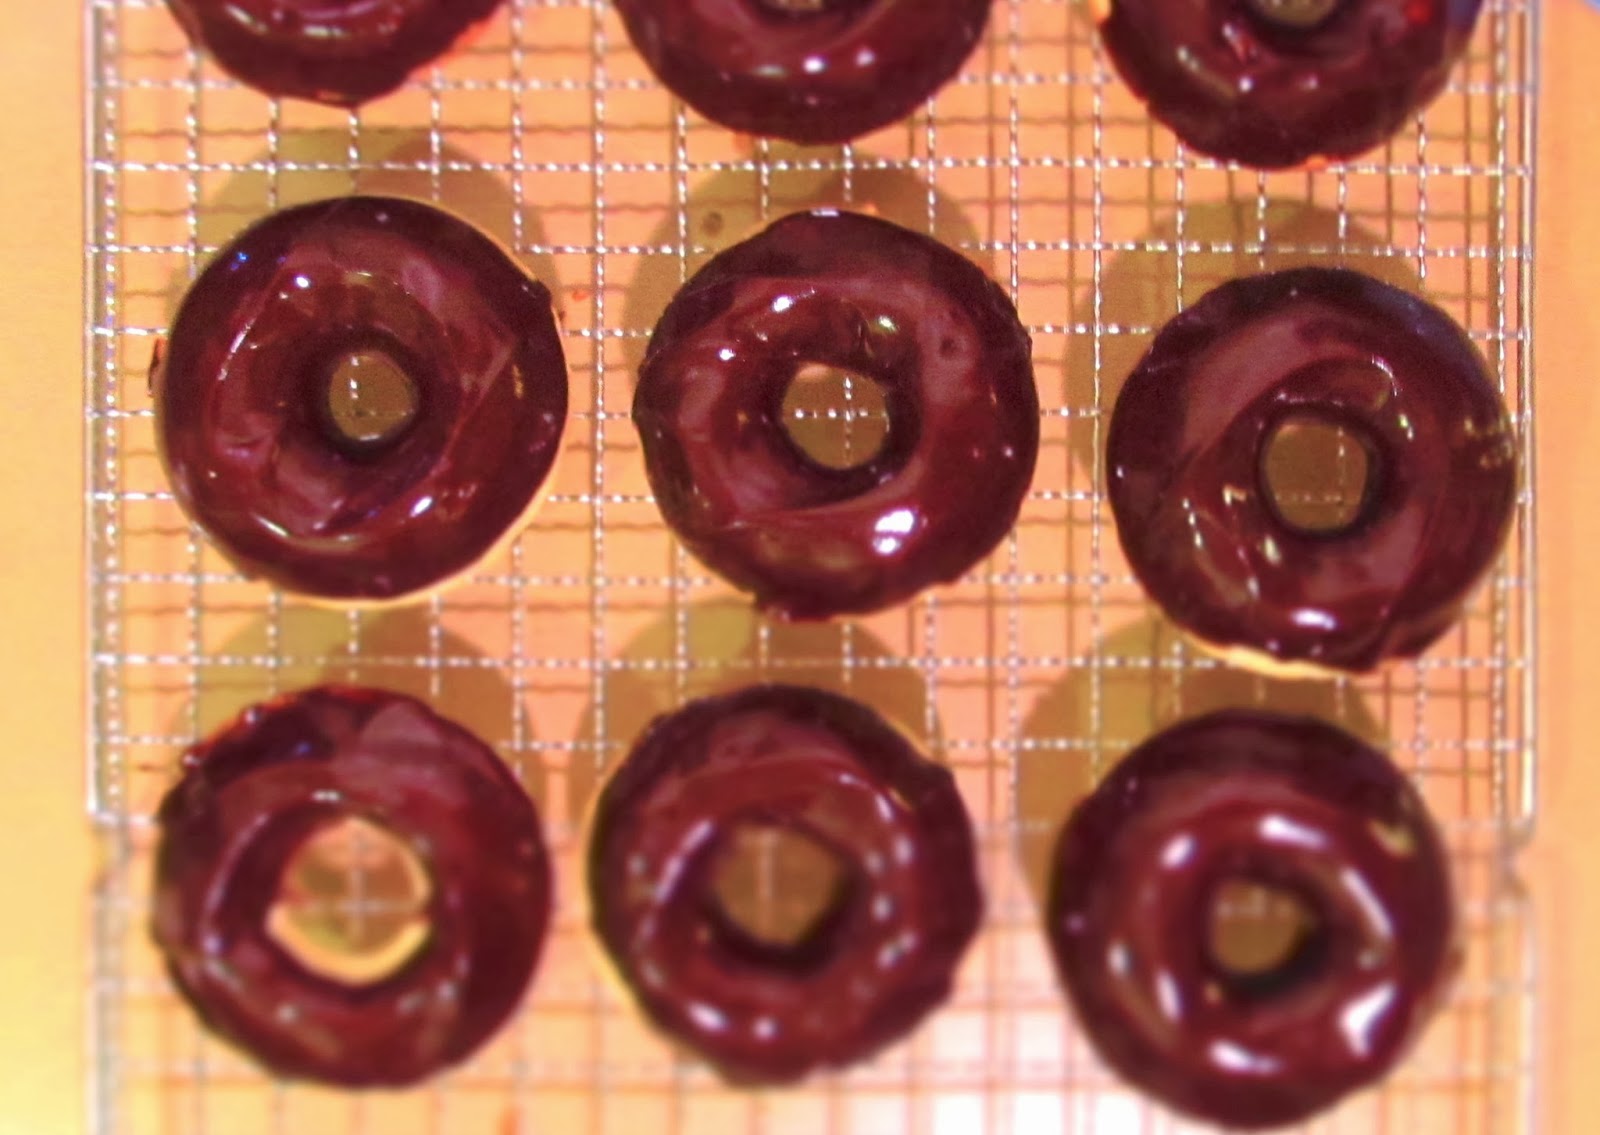
[Challenge 2] I thinned the chocolate glaze too much. But, it’s nothing a double dip in appropriate-thickness chocolate glaze didn’t fix!
Now that I’ve done it once, I think a second go around is required- and will go much more smoothly. Getting the pacing of this down will surely yield greater success in the future. 
My takeaways from this: 
always read the recipe completely first
baking is a delicate process.
even if they don’t look great, they taste pretty darn good-
and that’s what maters

Tipsy Tuesday: Pink Gin Punch

It’s OCTOBER! ah! Time flies, huh?
I said to my husband this evening, I’ve got to make a pink drink for tonight! He looked at me confusedly and said, “what, why? ohhhh.”
Yep, October is Breast Cancer Awareness month.
So while you’re taking time to prep a costume and stocking up on candy for the end of this month, take some time to think pink and support. 
So, no worries about the white dust above. 
It’s powdered sugar.
I’m going to be honest. I was lazy here and had no interest in making simple syrup. powdered sugar worked really great in my Pisco Sour, so i figured I’d try it here. This drink is definitely gin-y and packs a punch. The creme de casis and grand mariner really compliment the floral of the gin and play up its natural flavor. 
Gin Punch
1 + 1/2 oz Gin
1/4 oz creme de casis
1/4 oz grand marnier
1 + 1/2 tbsp powdered sugar
juice of 1 lime
splash of angostura bitters
shake in a shaker and pour over ice.

DIY: Gilded Bobby Pins

This was a fun little craft I did over the weekend. I had been at the craft store picking up some essentials to wrap a gift, when I wandered through the aisles. I found these little golden studs in the “iron-on” section, and picked ’em up thinking I may embellish a headband or something.

When I got home, I was browsing the internet and saw these great, thin, golden hair clips.  I loved the look, but they are $58. Yup, 5. 8. together. nuts.

I decided on trying to replicate it somehow, and landed on blonde bobby pins! Now, they’re much smaller obviously, but same general idea-ish.

I bent the bobby pin open, put a dab of hot glue on the back of the gem, and placed it on the flat side of the bobby pin. Wait about 3 seconds, just so it slightly cools, then push your finger into the dollop of glue so it flattens around the bobby pin. You want to fully encase the bobby-pin in glue, otherwise the gems will fall off. 
Up-close from the back, it’s not so cute. Some challenges I encountered, the glue is f*#$^ hot. be careful. Also, if it’s too clumpy , use the tip of the hot glue gun to smooth them out. Also, you really need to bend the pin open a bit, and sometimes it’s a challenge getting it back together. This may have taken a light tap of a hammer or two. And, I used tiny scissors to trim some of the excess strings.
The finished product adds an edgy-gilded flair to your look.
I’m really pleased with them overall!

Classic Baked Doughnuts

I bought a doughnut pan. Why, you ask? 
because I am self-sabotaging any hopes I have of getting in shape.
Because, doughnuts are yummy!
and surely baked is better then fried.
Fresh nutmeg is just so aromatic and adds a warm nutty flavor to the doughnuts.
I used this recipe that came on the back of the packaging for the pan.  I will say, they weren’t bad by any means. But I know in my bakers-heart, they could be so much better. They were surprisingly easy to make though, and so pretty! I actually bought the mini doughnut pan too after these worked out so well.
I will be trying some new recipes sometime in the near future, so stay tuned for that!

Tipsy Tuesday: Bourbon Lavender Sidecar

Well, it’s not really a sidecar- because that’s traditionally made with brandy. I was on a roll with the whole bourbon thing though, and wanted to try something else. 
A sidecar is traditionally brandy + orange liquor + lemon juice
I used that basis to create this delicious concoction, the bourbon lavender sidecar.
Playing up the earthy flavors of bourbon again, I chose lavender and honey to sweeten the deal this time.
lavender honey simple syrup:
 combine 1/2 cup of boiling water
1/4 cup honey
1tbsp dried lavender
Allow lavender to steep in mixture until cool then strain through a mesh sieve, pressing on the lavender to release all the beautiful essential oils. I strained it into a small weck jar for keeping in the fridge. (good for about 2 weeks)
1 + 1/2 oz Bourbon
1/2 oz Grand Marnier (or other orange liquor)
1 oz lavender honey syrup
1/2 oz fresh lemon juice (about the juice from half a lemon)
dash of orange bitters
Pour ingredients into a shaker glass with 4-6 ice cubes. Shake until cold and strain into a cocktail glass rimmed with superfine sugar. youtube tutorial anyone?! 
The color of this boozy-beauty is a vibrant orange, and the distinct bourbon flavor is muddled but cuddled on the tongue by the sweet floral lavender. If you don’t like bourbon, this isn’t one you should try, but if you do, you’ll want to only drink this from now on… for serious…
It’s really good.